I love yogurt. I begin my day with a yogurt and end it with one, so yogurt at my place is not a rarity. They say that yogurt is healthy, but how do you know how much of artificial preservatives and other chemicals go in there? Which is why I started making my own.
The heat is making everybody’s brains melt and there is no better time for the cooling agents to come out and play. Yogurt is one such thing that is known for its body cooling properties. It’s after a long time that I made it at home. The yogurt needs about 24+ hours to properly set and attain its characteristic tart flavour, so patience is needed for this. However, the best part is, you don’t need a lot of fancy ingredients to make this. One litre of milk and 3 tablespoons of store bought yogurt (if you’ve made yogurt before, 3 table spoons of that) is all you need!
Ingredients
- 1 litre milk
- 3 tablespoons yogurt (store bought, homemade)
- Thermometer
- 100g Sugar (optional)
Method
- Boil the milk and the sugar in a large saucepan. Keep stirring so that it does not boil over.
- Heat the milk up to 180 degrees F. Use the thermometer to check the temperature.
- Take off heat. Cool to about 112°F to 115°F. Stir occasionally to prevent a skin from forming. Alternatively, you can also take off the skin once it forms.
- Once it has cooled to the desired temperature, stir in the yogurt. Pour into sterilized containers* (see the Tips section below) and keep aside in a warm place for 12+ hours. Do not disturb the mixture during this period.
- Refrigerate after the yogurt has set and the desired tartness is achieved.
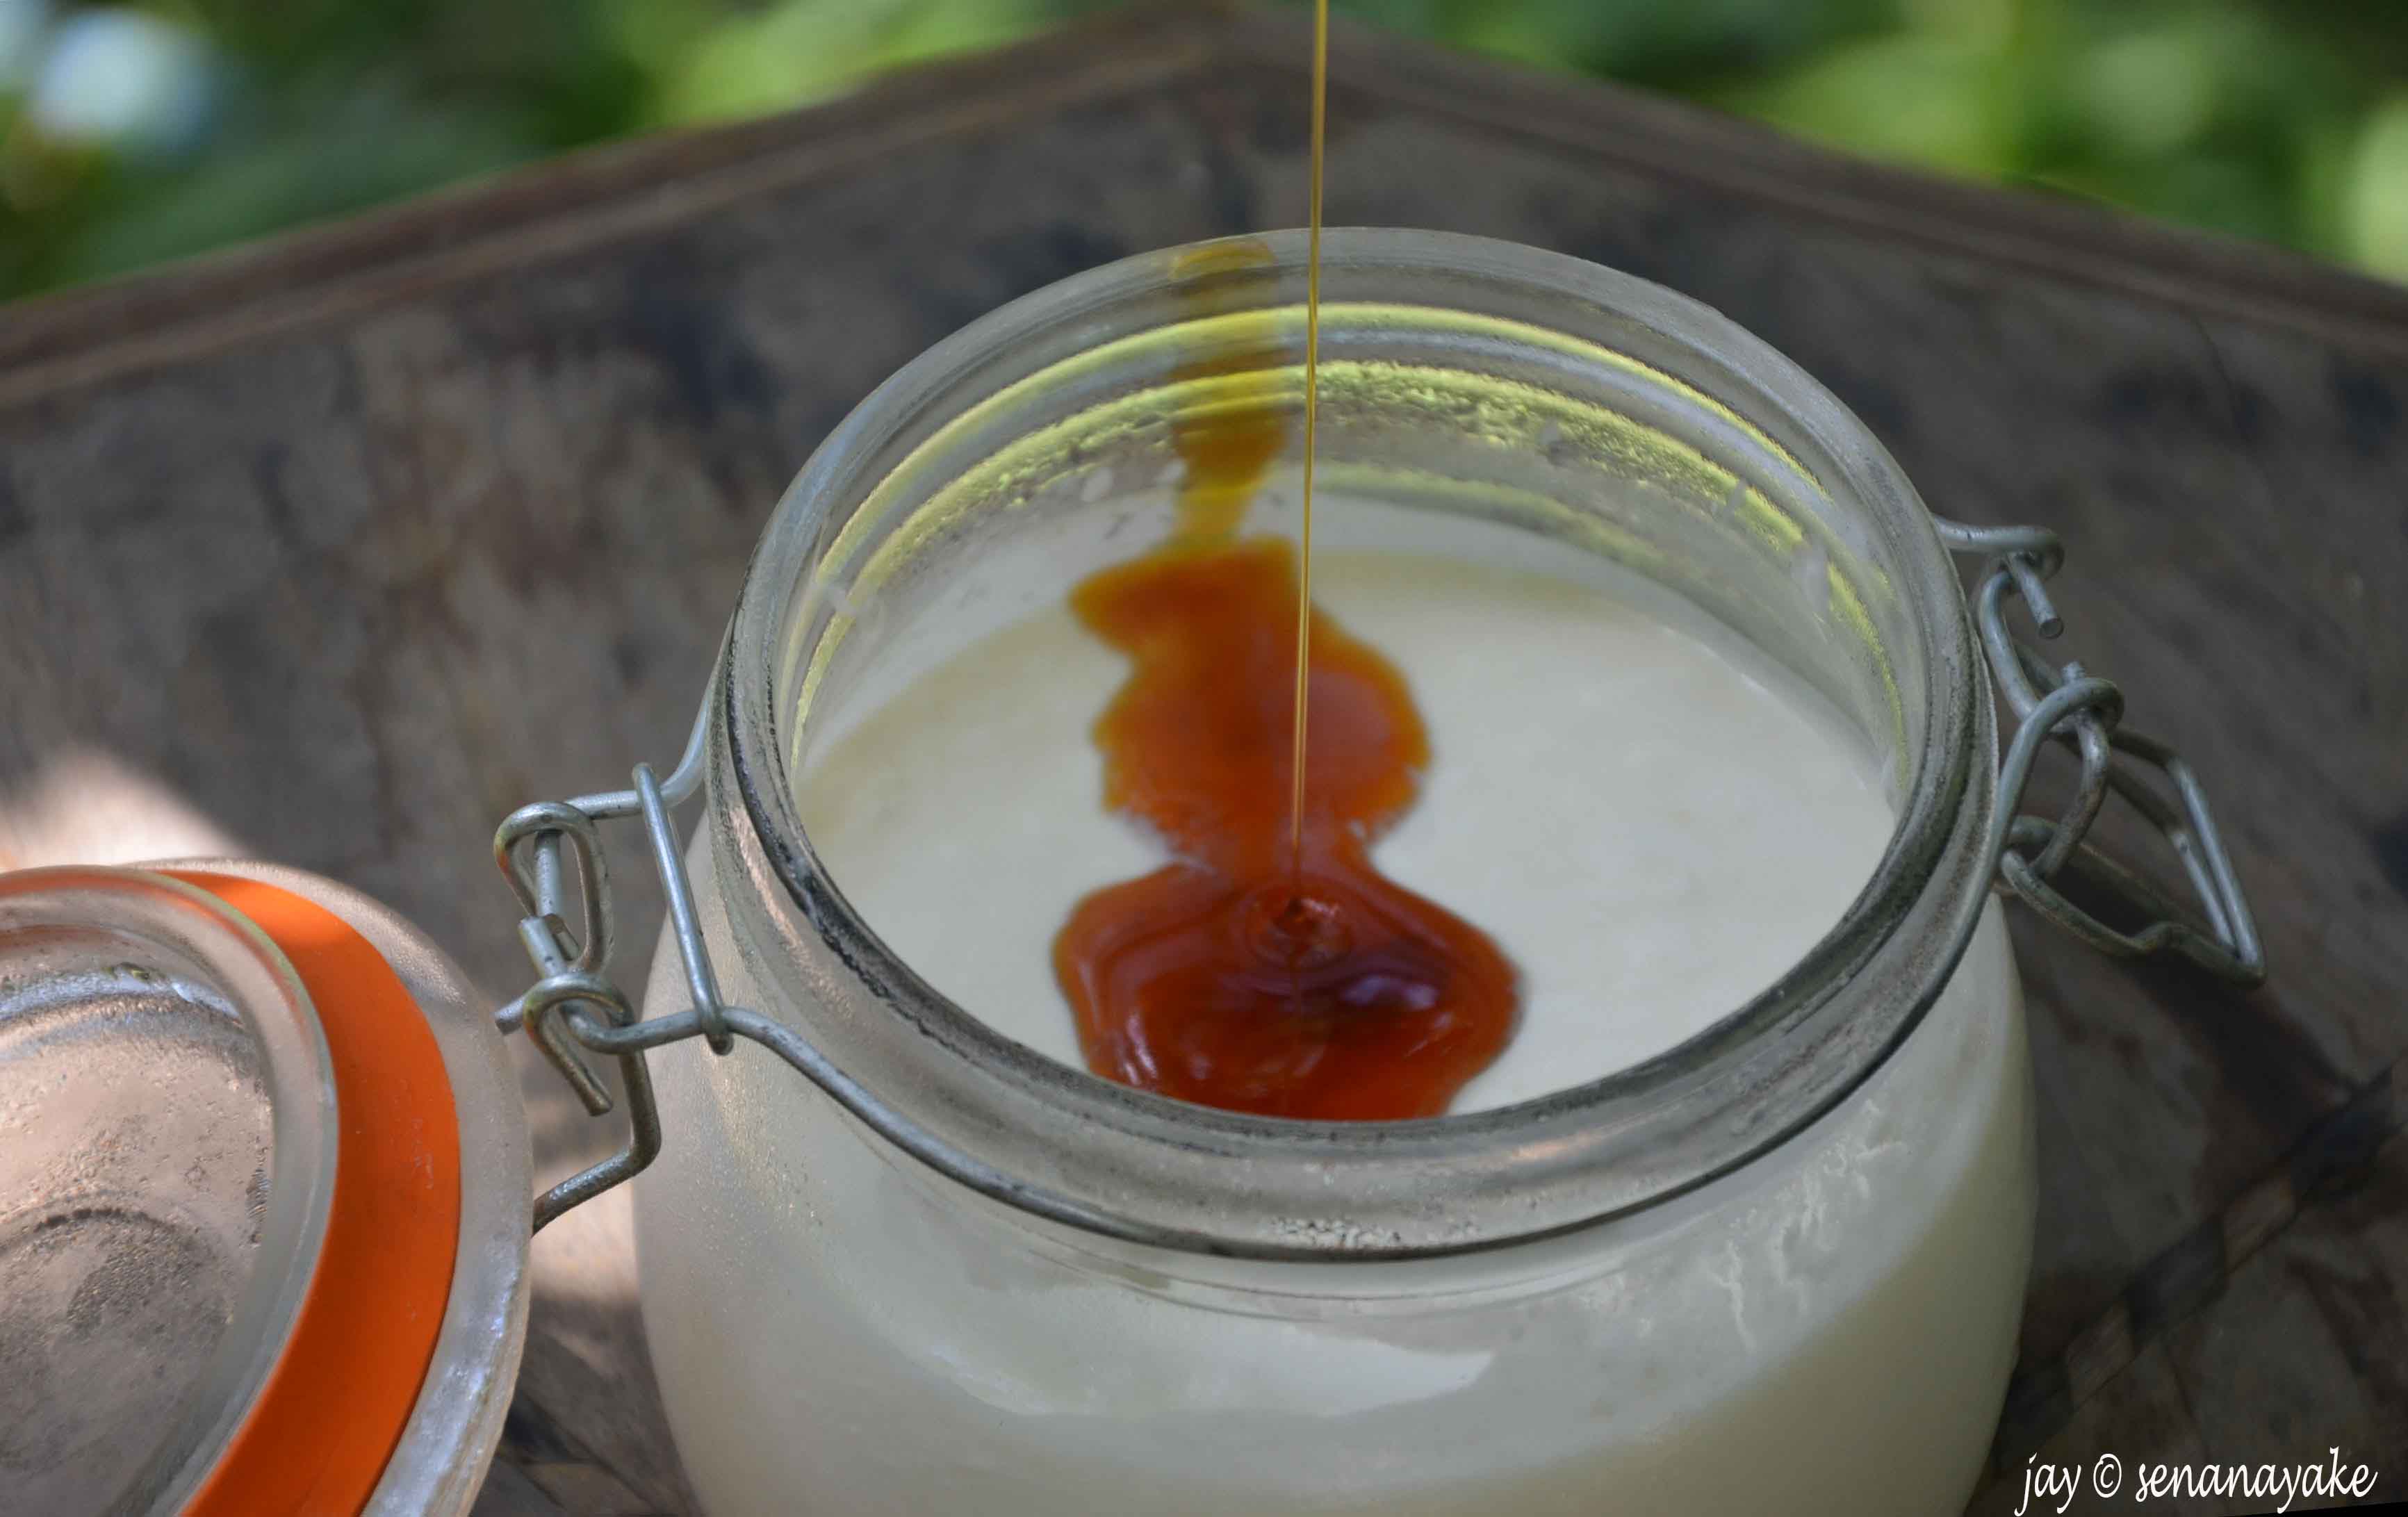
The result is well, yogurt! It is not as hard set as store-bought yogurt as I do not use gelatin in this recipe to keep it completely natural and let the culture do its work. I like this stirred so that it attains a creamier texture than the unstirred one. But of course, that choice is completely up to you.
Tips
- Always use well washed, clean vessels and other instruments when making yogurt. Milk absorbs odours and flavours very easily and therefore, everything from boiling the milk to storing the yogurt must be done in ordourless containers. If you are making yogurt regularly, I suggest you keep a separate saucepan for boiling the milk and storing it. Avoid using wooden spoons for stirring the milk as wood is quick to absorb odours and flavours as well as to lend them those as well. So using the saucepans and vessels that you use for making or storing curry for making yogurt is an absolute no-no.
- Use any natural yogurt as the culture. I have always used Highland yogurt and it works for me. I haven’t used any other brands, so I cannot really comment on those.
- The longer you let the culture do its work, the tarter it gets. I usually leave mine for about 16-20hrs
- Sterilizing – There are several methods
i) Wash and rinse the jars well. Heat the oven to 140C/120C and place the jars in the oven, taking care that they do not touch each other. Sterilize for a minimum of 20 minutes. And don’t forget your oven mitts when taking them out!
ii) Wash & rinse the jars and microwave them for 30-45 mins depending on the size of the jar.
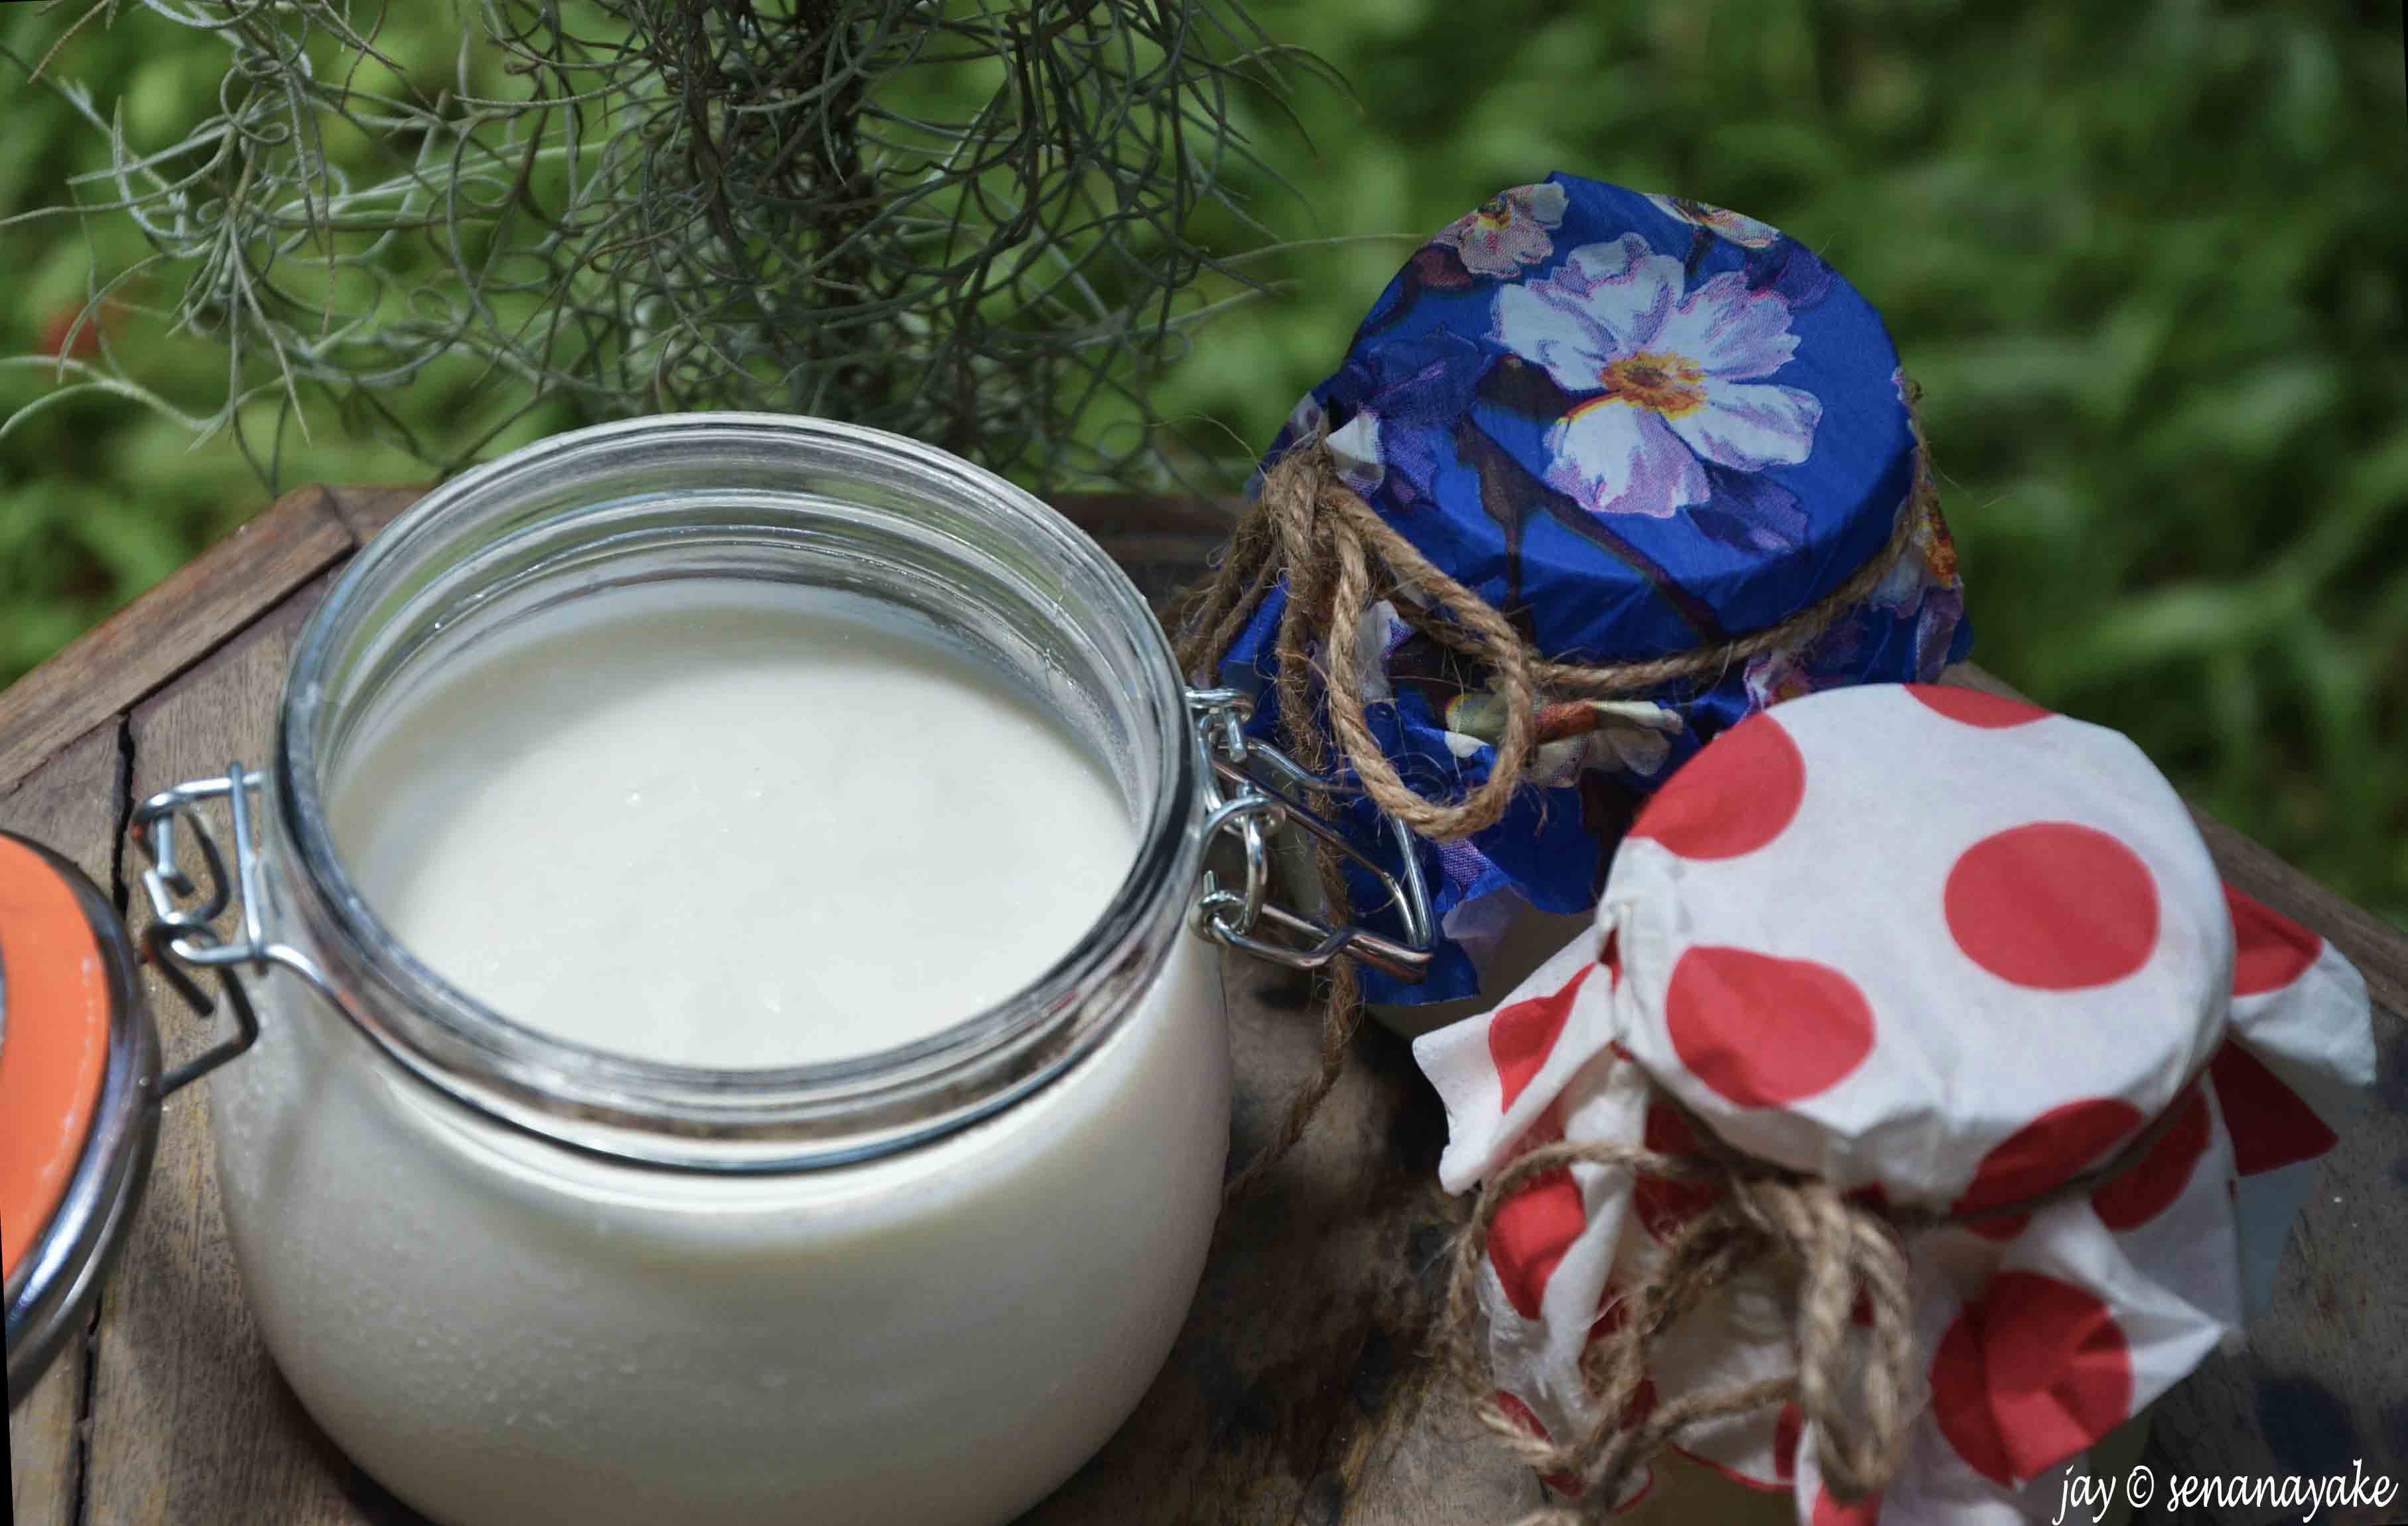
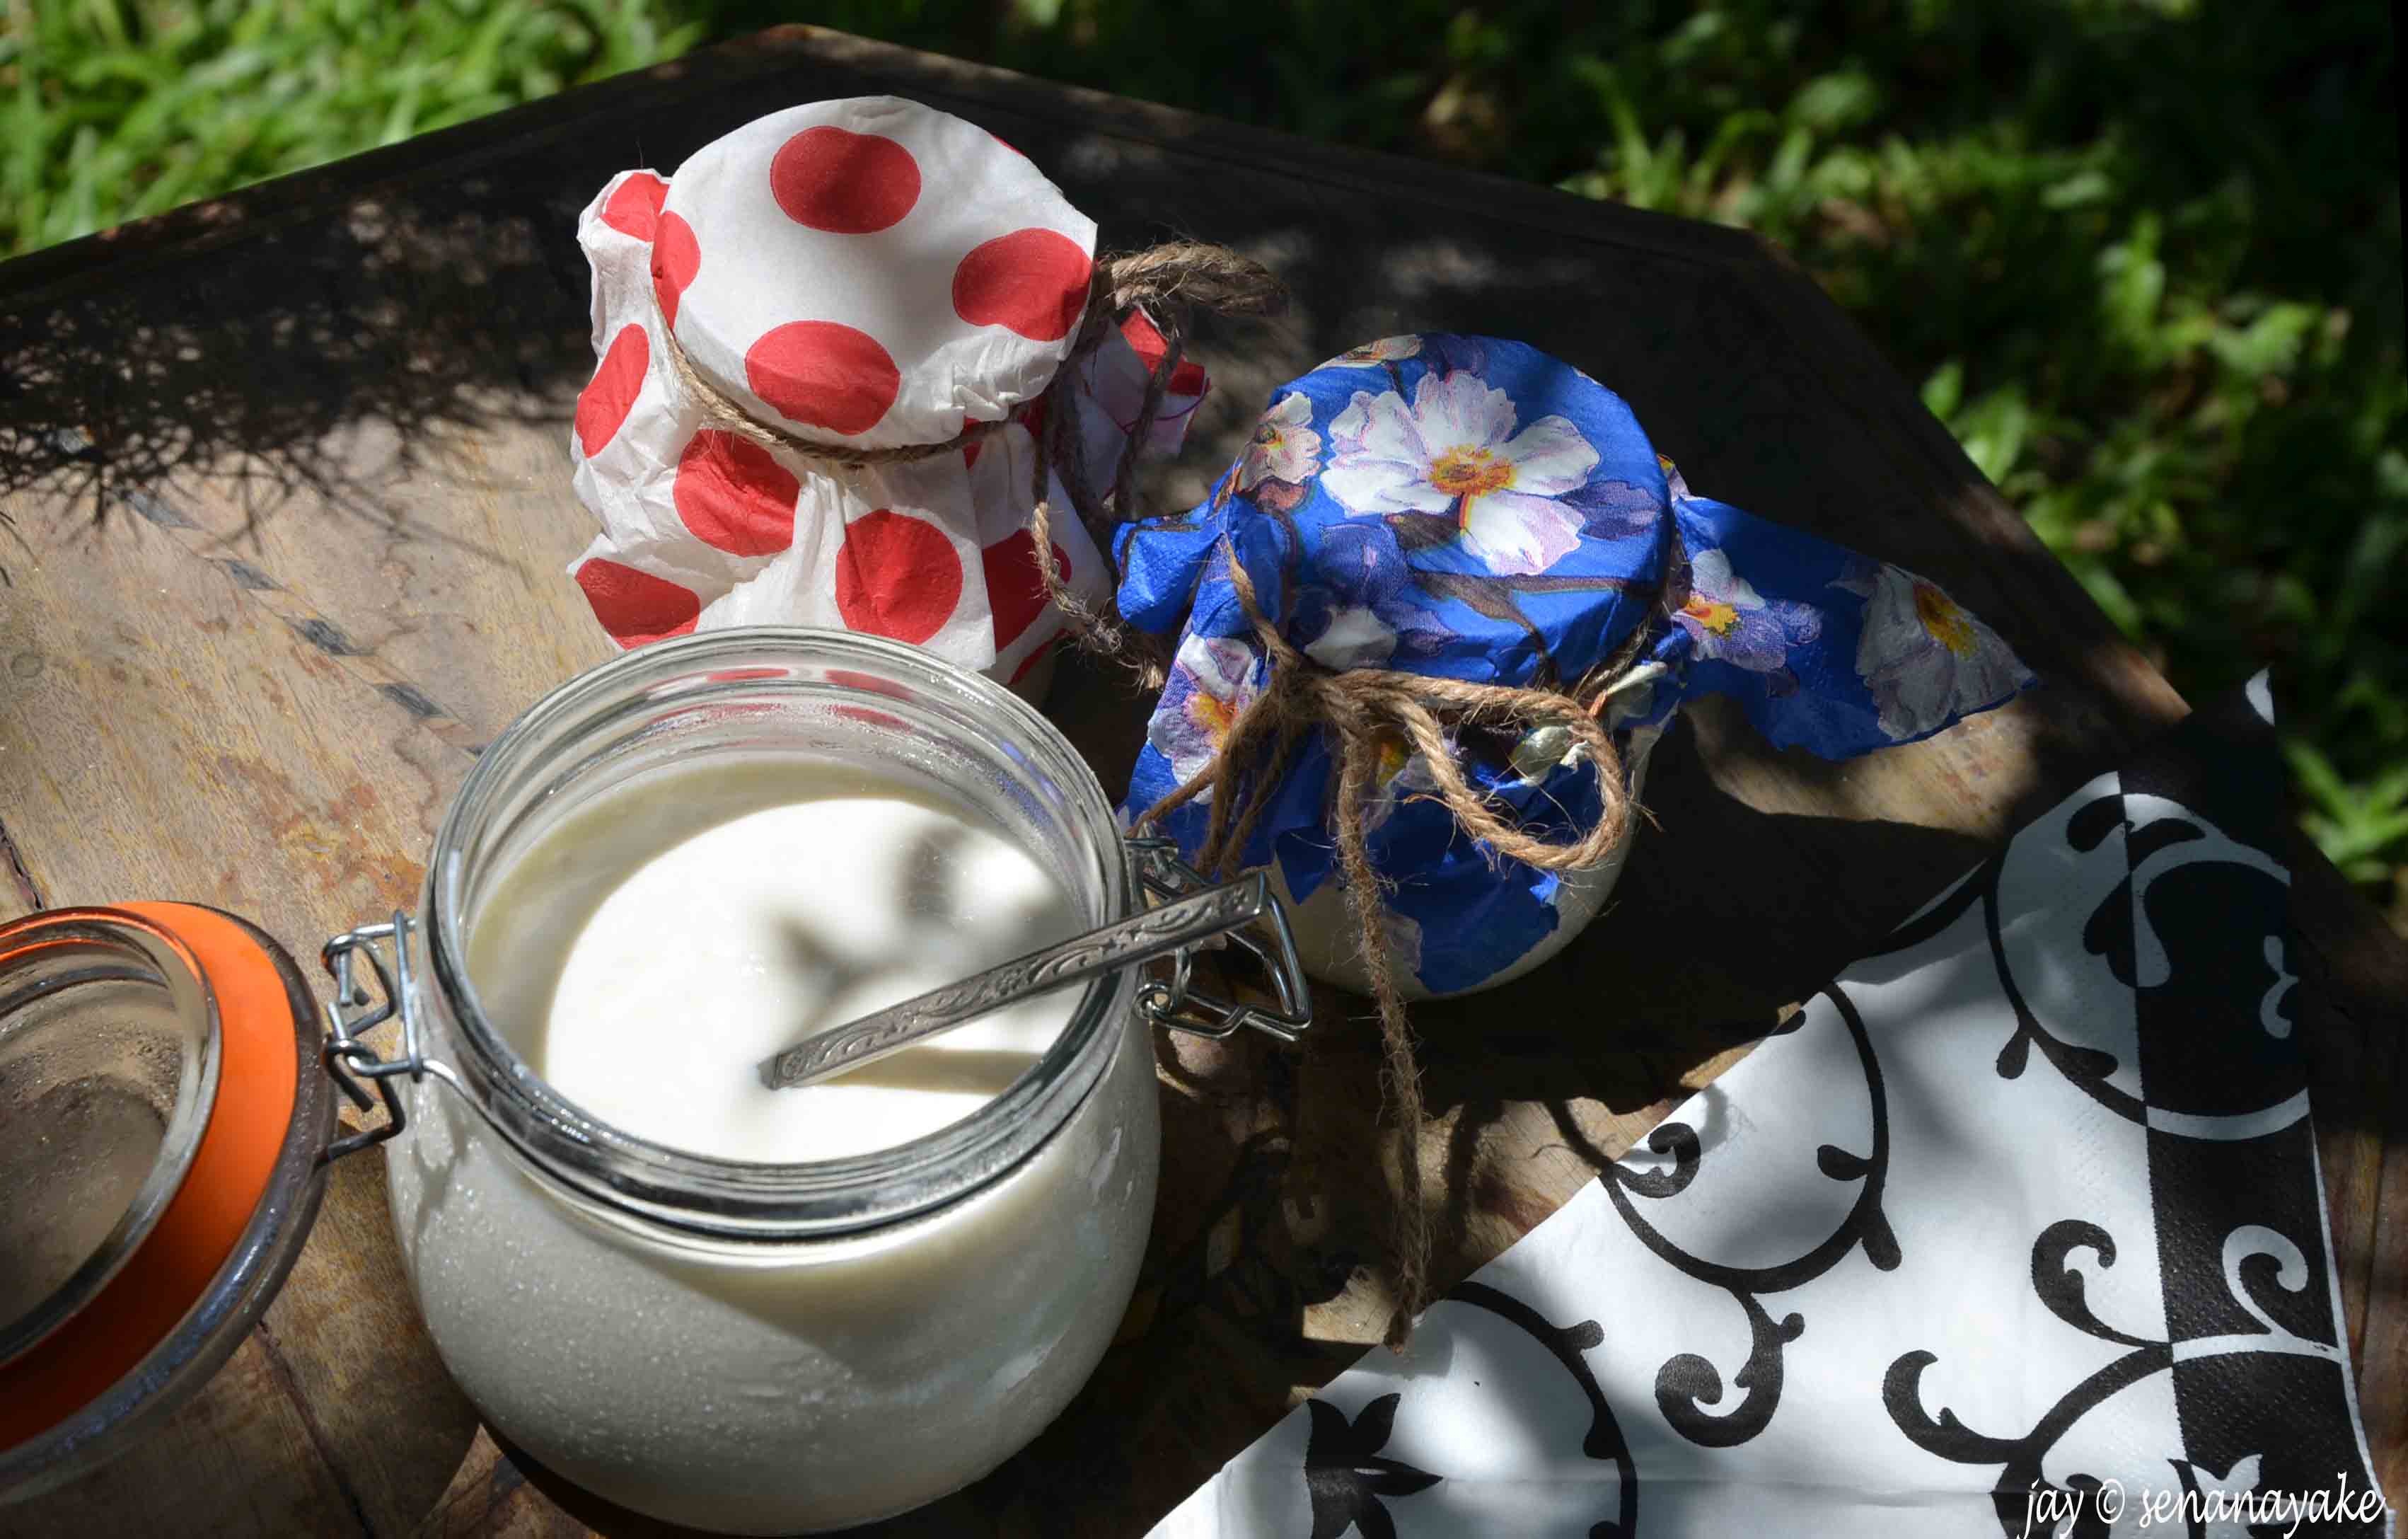
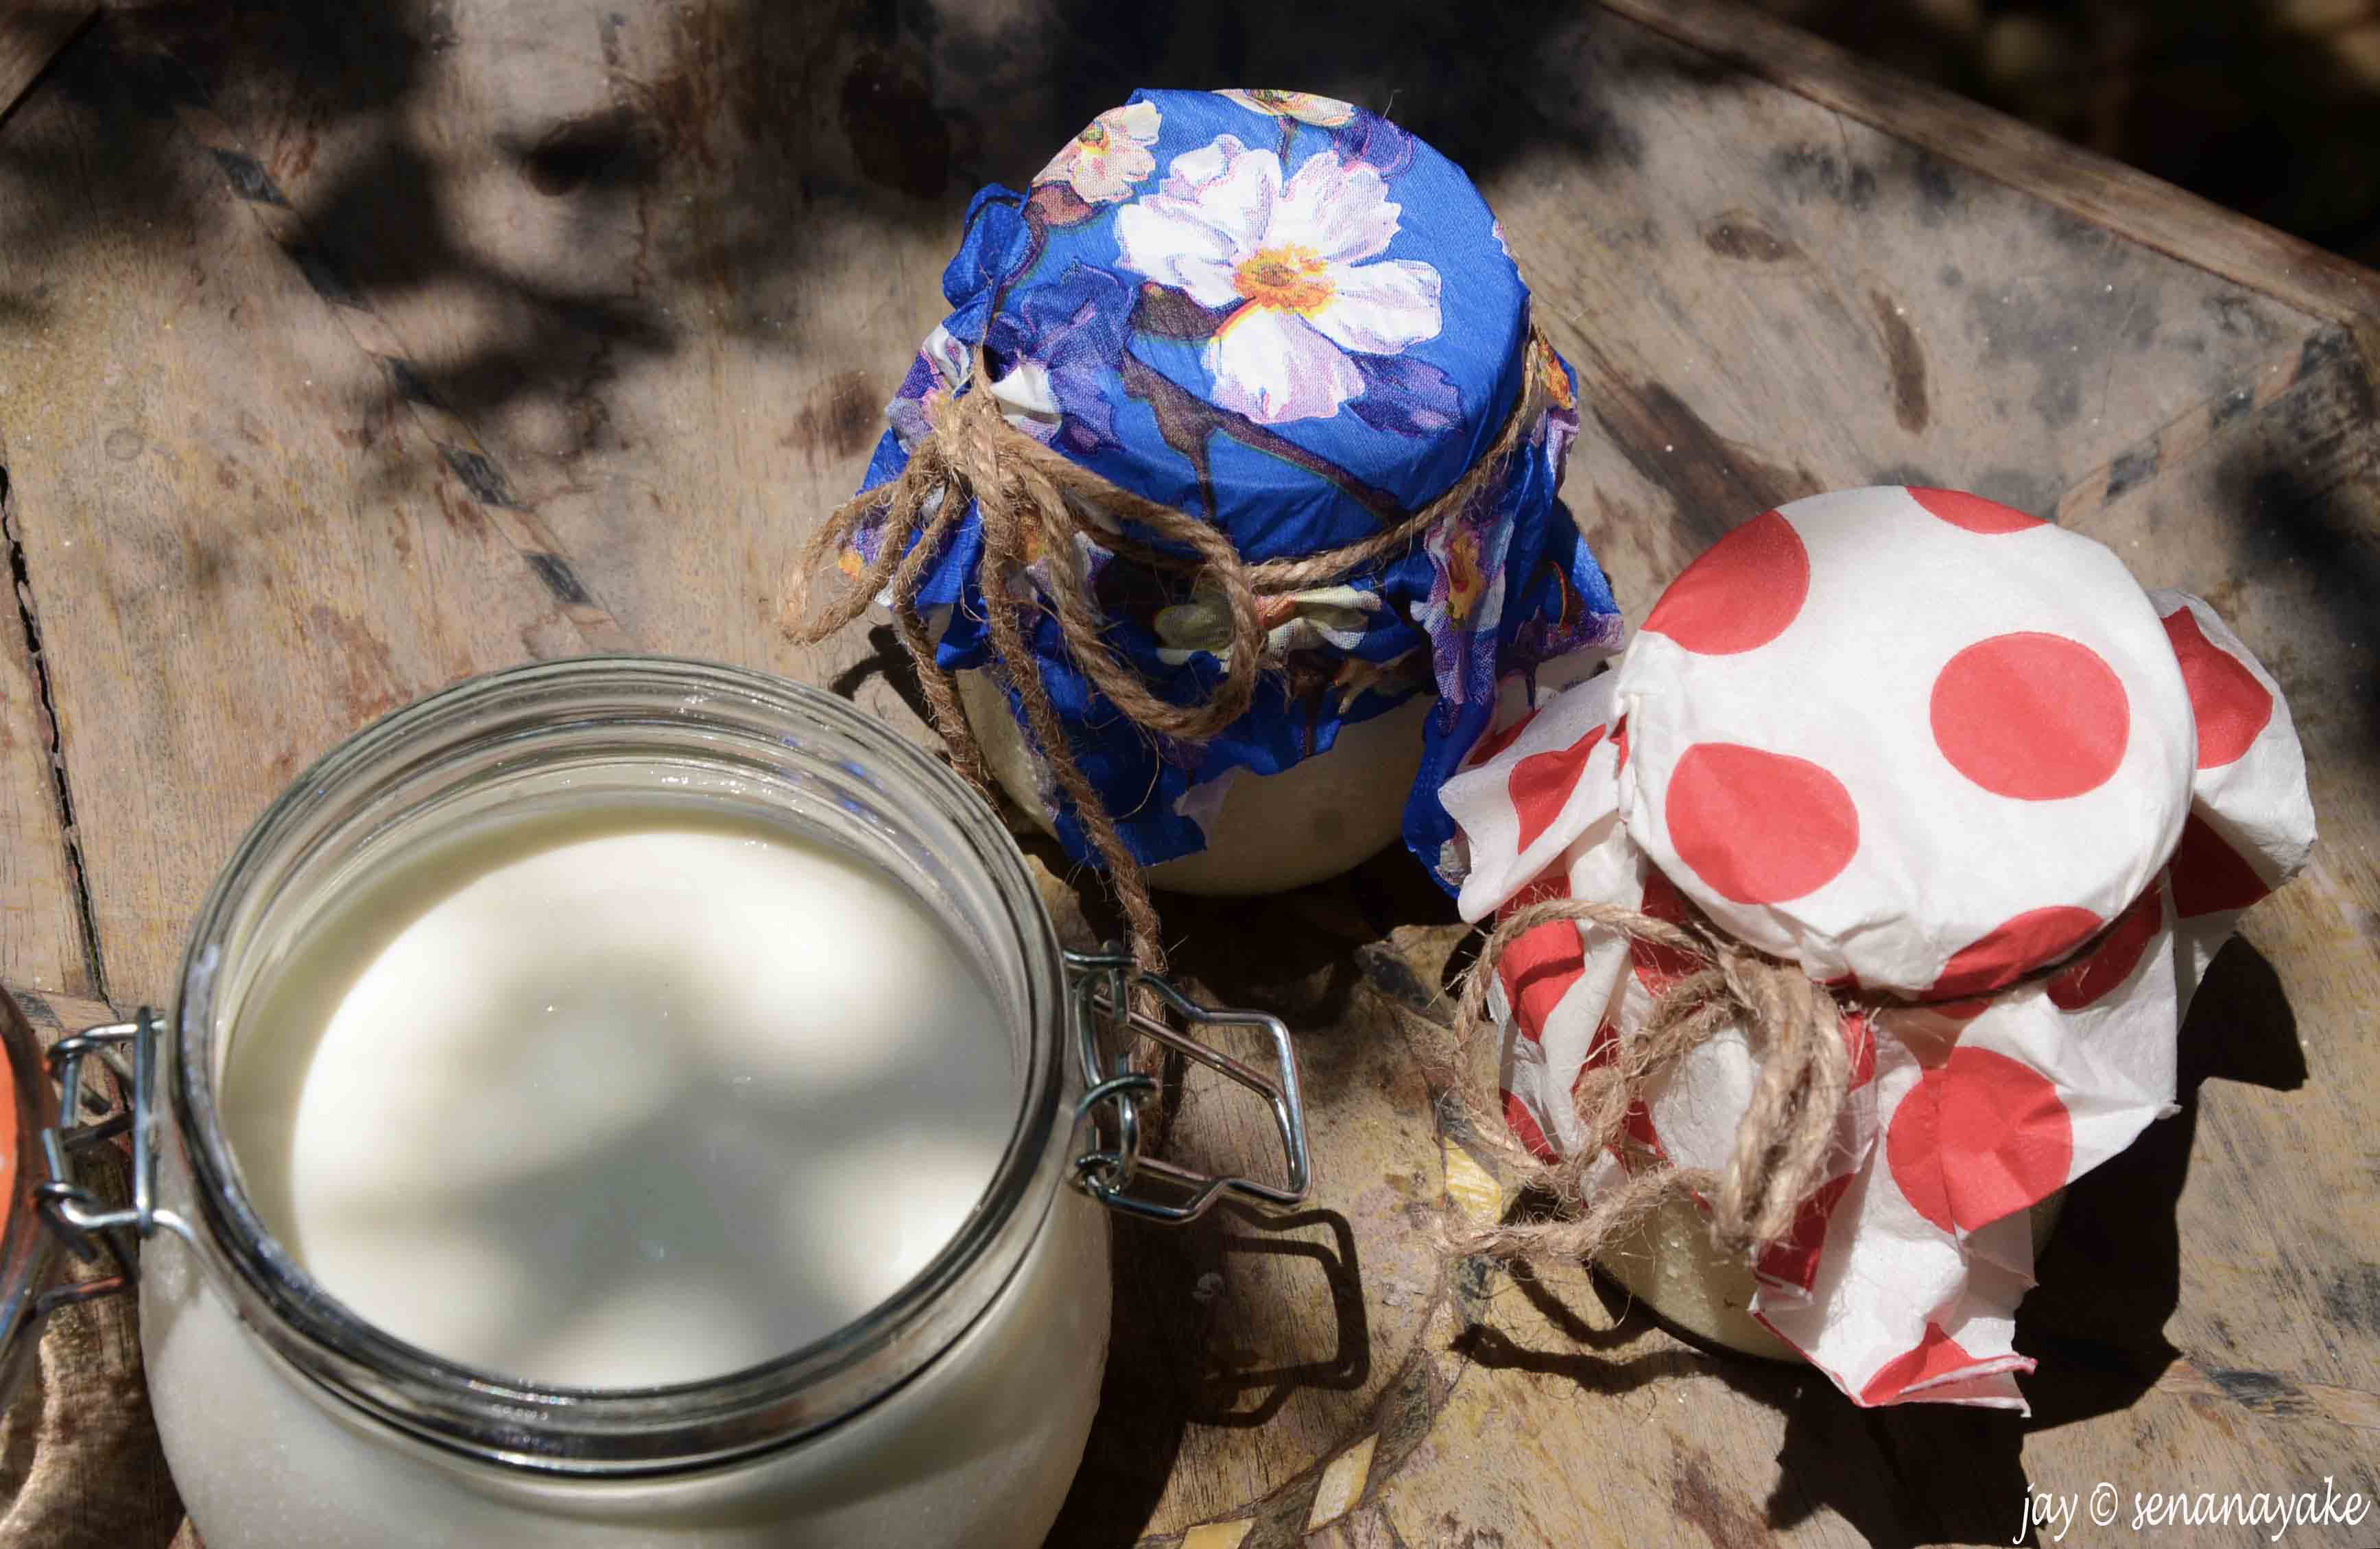
- One way you can present this yummy treat is to serve them in glass jars. You don’t have to purchase expensive mason jars for the purpose, any regular used jam bottle would do. Cutesi-fy the jars with colourful fabric or funky paper. Tie them up with ribbons or a piece of thin coir.
- Want to go lean? Then use non-fat or low fat milk. Tastes just as good, only a little less heavier.
- Sugar is optional when making yogurt. I usually go sugar-free so that I can adjust the amount of sweetness that I want afterwards. Alternatively, you can use other sweetners like honey, stevia and etc. Or add some kithul (palm) treacle, Sri Lankan style and gorge away!